Carpentry Tools: Framing Square
- How to Read a Framing Square
- How to Use a Framing Square
- How to Cut Stair Stringers with a Framing Square
- How to Layout Rafters with a Framing Square
- How to Use a Framing Square for Angles
View all framing squares from Johnson Level.
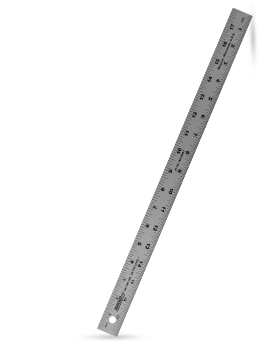
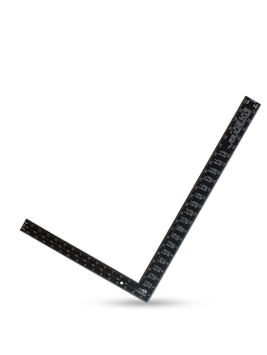
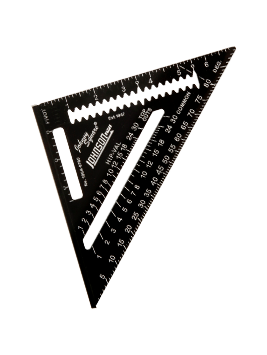
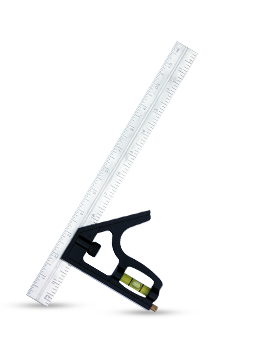
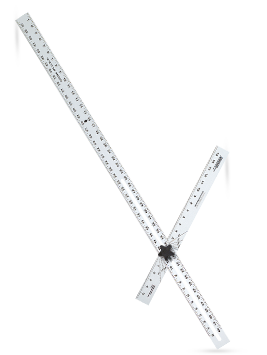
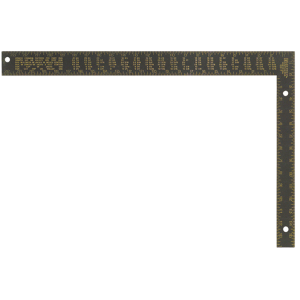
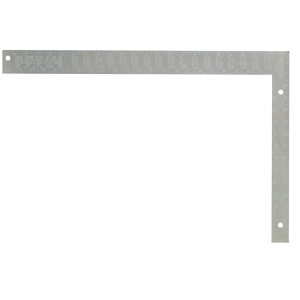
Also known as a steel square, the Johnson framing square is a handy tool for carpentry. Its uses extend into framing and laying rafters and stairs. It can also be used as a straight-edge, finding and establishing right angles and marking cut-off work on widestock.
How to Read a Framing Square
- Place the framing square on a table with the skinny length pointing right. You are looking at the face of the framing square.
- The skinny length is called the tongue.
- The thicker, longer section is called the blade.
- The corner of the framing square is called the heel.
- On the face side, the tongue reads the eight square scale. The blade reads the rafter tables.
- Flip the framing square. This is the back.
- On the back side, the tongue reads brace measurements. The blade reads essex board measurements.
 How to Use a Framing Square
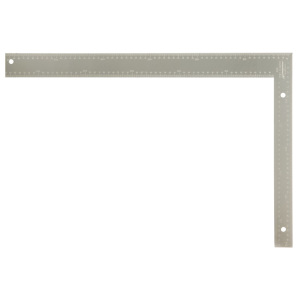
- Note the graduated scales. Generally, the framing square is broken down into fractions of an inch on top, and in centimeters on the bottom.
- Measure a cut. Place one arm parallel against the edge of a piece of material that you wish to cut at a right-angle.
- Mark a line along the edge of the other arm and mark out a cut line.
- The arm used for marking is generally determined by how long of a mark you need – use the Blade for a longer mark and vice versa.
- Cut along the mark.
 How to Cut Stair Stringers with a Framing Square
- Measure the rise (vertical distance) and run (horizontal distance) of the area your stairs will occupy.
- Divide those measurements by the number of stairs you want to have.
- This should produce two numbers—one for rise, one for run.
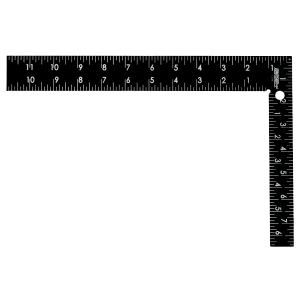
- Place your framing square against your 2”x12” board, with the outside of the tongue measuring the rise and the outside of the blade measuring the run.
- Mark along the outside of your framing square to show where you’ll cut.
- Measure a second time.
- Cut.
How to Layout Rafters with a Framing Square
- Figure the span of the common rafters. It’s the width of the building. Assume 30 feet, for this
- example.
- Find the run of the rafter. Let’s assume we want the rafters to cover half the building. The run is 30’/2=15’.
- Determine the roof’s pitch. Assume an 8”/15 pitch. There are 8” of rise
 for every 15” of run.
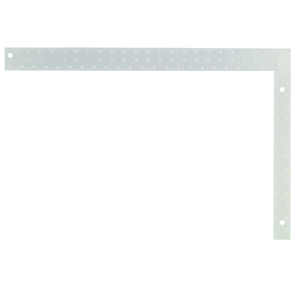
 - Place the framing square at the top edge of the rafter. The tongue on 8” and the blade on 15”.
- Make a mark along the tongue.
- Place a dot where the blade meets the rafter board. In this case, at 15”.
- “Step down” the framing square by lining up the tongue at 8” on the square on the dot you just made.
- Line up the blade at 15” down the rafter.
- Make another mark along the tongue.
- Repeat the process (steps 4-9) until you’ve run out of material. You won’t be able to make a final mark with a framing square once you’ve run out of enough board. You need to connect the last dot you made to the other edge of the board at the correct angle.
- Measure the distance between any two points along the edge of the board.
- Measure this distance from the last marked spot on the far end of the board and make a mark.
- Connect this mark to the last dot you made using the framing square.
- Use a straight edge to connect the dot to the mark.
- To find the birdsmouth, you’ll need to measure up 1/3 of the thickness of the rafter. Let’s say we’re using a 2’x6’ that’s 5 1/2” thick. 1/3 of that is 1 7/8”.
- Measure 1 7/8” up from your angled mark.
- Line up the framing square blade at 15” on the mark and ensure the tongue reads 8” along the same edge.
- Mark a line down the inside of the blade to the edge of the near side of the board.
- Repeat the process (15-18) on each remaining angled mark.
How to Use a Framing Square for Angles
- You will need a scientific calculator to measure a perfect angle using only a framing square.
- Let’s say you want to make a 40 degree cut on a piece of plywood.
- You can calculate the proper length for each line to make a 40 degree angle using a trigonometric formula.
- Measure the desired length of one side of the angle and make a mark. Let’s assume this is 12”.
- The length to find is going from the heel of the right angle to where the “triangle” will connect. Where it connects (the measurement on the blade of the framing square) is based on the desired angle.
- Assume the tongue of the framing square runs along your first marked line, and the heel outlines the right angle.
- The tangent of 40 times 12” (rise) equals the run (on the blade). In this case, it comes to approximately 10”.
- Measure 10” from the top of the framing square along the blade.
- Mark a line from the measurement on the tongue (12”) to the measurement on the blade (10”).
- The angle between the tongue and the line connecting to the blade (the hypotenuse) is 40 degrees.
View all framing squares from Johnson Level.
