Try Square
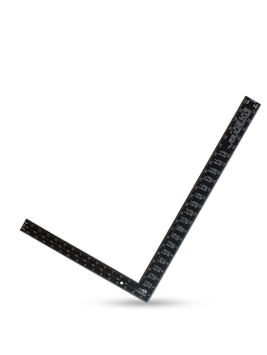
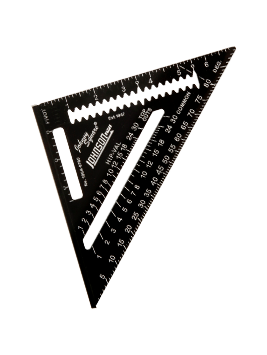
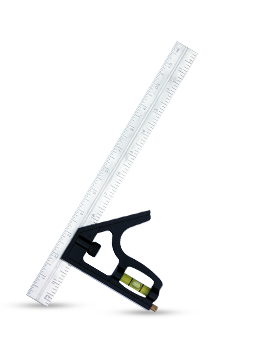
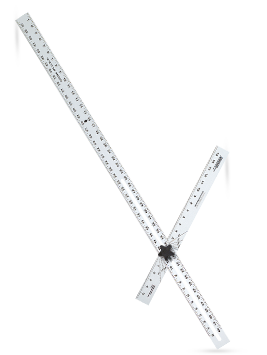
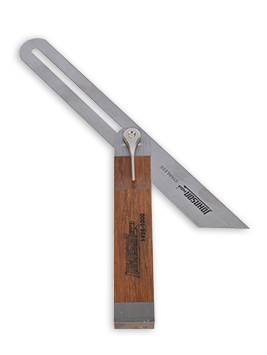
A try square is special purpose square in wood- and metalworking used to mark or measure material. The name ‘try square’ comes from the concepts of ‘trying a surface’ (to check a surface’s straightness or correspondence to an adjacent surface) and ‘square’ (a 90°, or right, angle).Try squares generally consist of two parts. The ‘blade’ is the longer portion, usually made of metal. The ‘handle’ (or ‘stock’) is usually made of wood, plastic or metal. Try Squares from Johnson Level feature blades with hash marks for measuring short distances.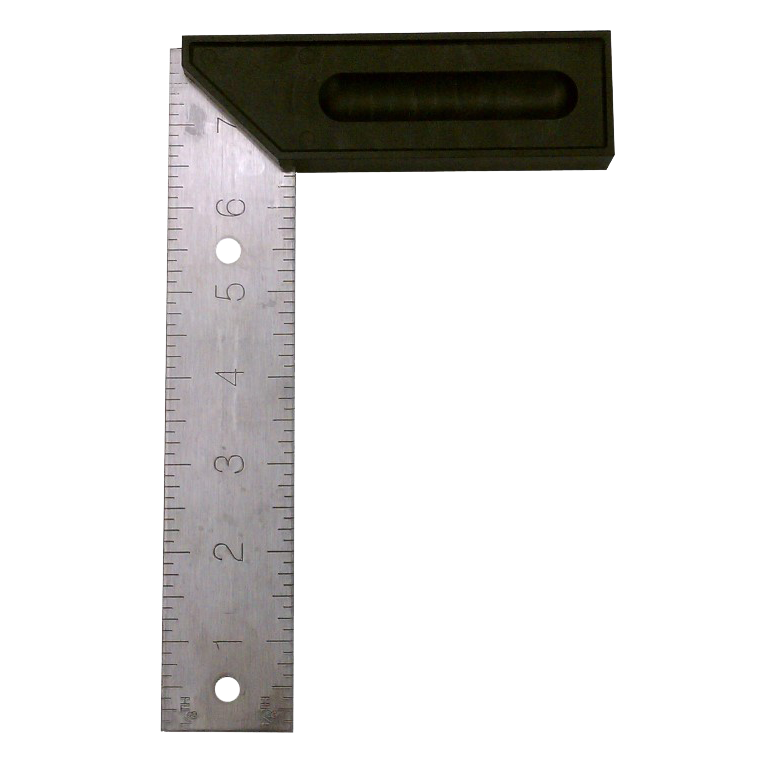
How to Use a Try Square
- Place the try square blade across the material you want to test or mark. The thicker part of the handle should extend over the edge of the surface, allowing the blade to lie flat across the surface.
- Hold the handle against the edge of the material. The blade is now positioned at a 90° angle compared to the edge.
- Find where you want to mark the material by adjusting the blade. Using the blade’s edge, draw a line across the material. To check the board’s square, align the blade with the end of the material. Make sure the corner of the material lines up with the corner of the try square. If there’s a gap between the try square and the material, the material isn’t square.
Check out the full line of special purpose squares from Johnson Level.
For more information on how-to for levels and tools, take a look at Johnson Level’s guide of how-to’s.
