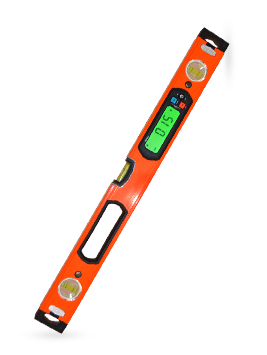
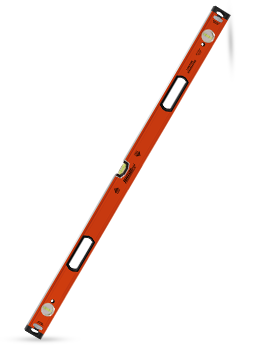
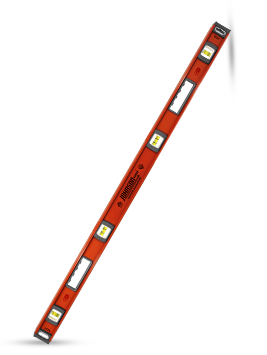
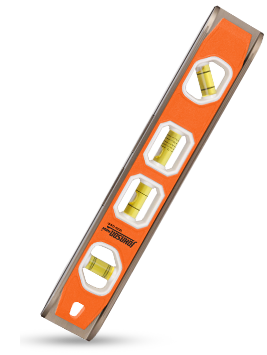
Straight Edges and Cutting Guides
- How to Read a Straight Edge
- How is a Ruler Different from a Straight Edge
- How to Use a Straight Edge
- How to Use a Straight Edge with a Circular Saw
View straight edges and cutting guides from Johnson Level.
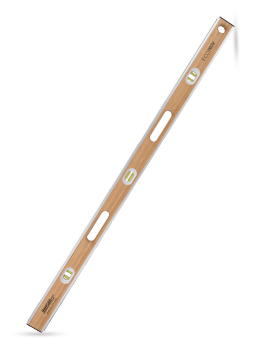
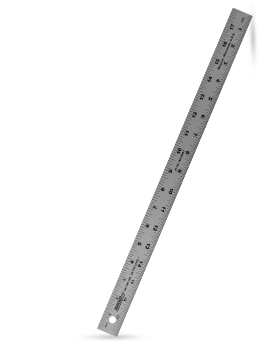
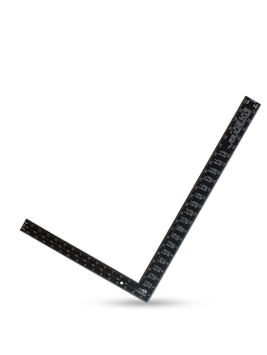
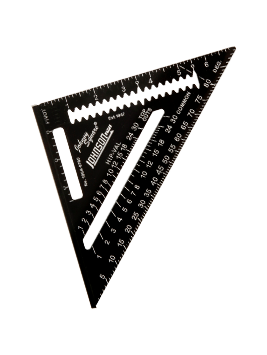
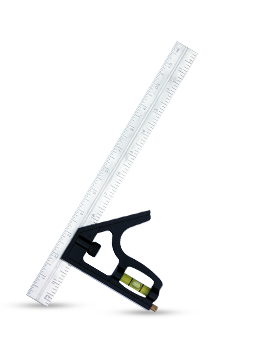
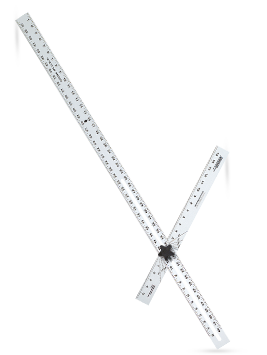
A straight edge is a cutting guide tool for copying a straight line from one location to another or checking the straightness of a line already drawn. A straight edge with equally spaced markings on it is called a ruler. A Johnson Level straight edge is not only a great way to mark, test or transcribe perfectly straight lines, but also an efficient way to measure short distances (96 inches or less, or 8 feet). Johnson Level straight edges and rulers feature graduations and length markings for ease of use in the construction process.
How to Read a Straight Edge
 |
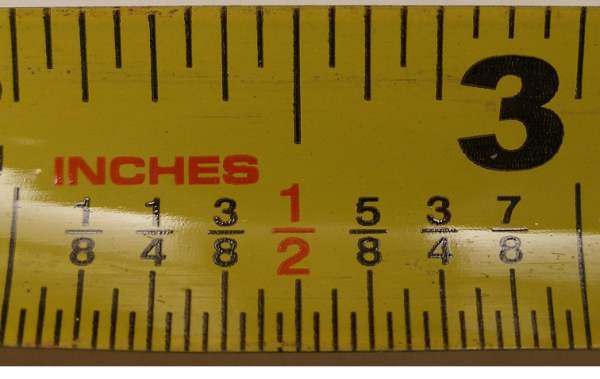 |
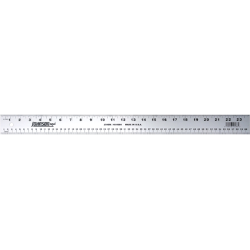
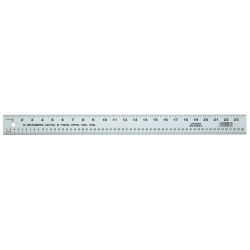
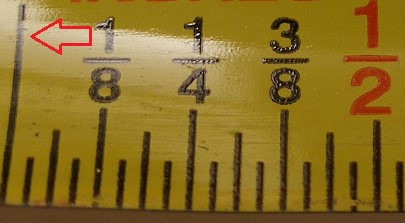
| Straight edges typically feature 1/16" increments. |
- Find the right length (size) of tool for the job. While a 72 inch straight edge could be used for measuring or drawing a 4 inch line, it makes more sense to use a shorter cutting guide tool. Using a 12 inch (standard foot ruler) will be easier and faster, as the foot-long is designed for lengths 12 inches and below.
- Pay attention to the markings on the straight edge or ruler. The larger the mark, the bigger the increment and vica versa. On a standard 12 inch ruler, the largest markings indicate a full inch.
- Smaller markings in between the inch marks indicate fractions of an inch, with the fraction size being directly proportional to the size of the mark. For example, the ½ inch mark (see below right) is shorter than the inch mark. The number of markings on a straight edge or ruler depends on how small an inch is broken down.
- A ruler’s markings move left to right, as if you were reading a book. This means that on a standard foot ruler, one inch in the left edge and 12 inches is on the right edge. Keep that in mind when using a cutting guide tool.
How is a Ruler Different from a Straight Edge
- Look along the edges of the straight edge.
- If there are markings indicating units of measurement along the edges, it is a ruler.
- If there are no markings, it is simply a straight edge.
- A ruler can be used for measuring and marking straight lines.
- A straight edge will not help you measure, but most are built more durably than rulers, making them a superior tool for marking straight lines.
- In most cases, rulers can function as a straight edge.
How to Use a Straight Edge
- Use a straight edge to mark straight lines and as a guide for cutting.
- Determine where you need to make your cut.
- Mark one edge of the board at the desired length, and mark the other edge at the same length (or different, if you want an angled cut).
- Line up each mark on one side of the straight edge.
- Draw the pencil along the straight edge. Repeat as necessary to make sure the line is visible.
- You have a perfectly straight line to cut along.
- You may use the straight edge as a guide for your table saw (use c-clamps to secure the straight edge on the ends).
How to Use a Straight Edge with a Circular Saw
- Assume you have made a straight line and are ready to make a cut.
- Line up your circle saw blade along the line, but do not yet turn on the saw.
- Make a mark where the saw base plate ends on the wood along the edge of the board.
- Measure the distance from your cut line to where you marked the end of the base plate.
- Go to the other side of the board. Use a construction square to make a mark at the same distance as close to the edge as possible.
- Use your straight edge to mark the base plate line.
- Line up the straight edge along the new base plate line.
- If you are using an aluminum or metal straight edge, secure the straight edge in place using c-clamps on each end of the board.
- If you are using a wooden guide as a straight edge (a 1x4 or 2x4), you can either use c-clamps or screw the guide directly into the board you're cutting—unless you plan on using the remainder of the board.
- When the straight edge is secure, line up the blade with the cut line and ensure the straight edge is placed correctly.
- Make the cut.
For information on proper tool usage, see Johnson Level's guide on how to use tools.
View straight edges and cutting guides from Johnson Level.
