Rotary Laser Levels Product Applications in Construction
- How to Set Up a Rotary Laser Level
- How to Calibrate a Rotary Laser Level
- How to Use a Rotary Laser Level
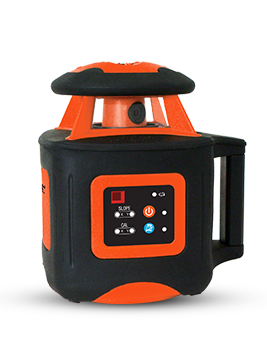
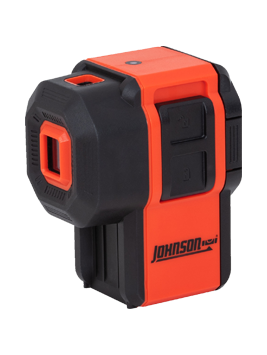
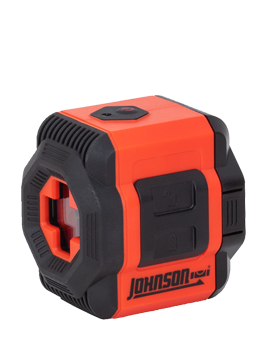
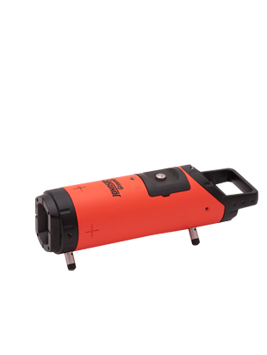
Today, the three most common types of laser levels are Rotary Laser Levels, Line Laser Levels (Line Generators) and Dot Laser Levels (Multi-Point Lasers). This article focuses on Rotary Laser Levels and practical applications of use indoors for rough and finished construction projects and outdoors for grading and other leveling construction on the job site.
Interior Applications for Rotary Laser Levels
An easy example to understand how a Rotary Laser Level can be used is to imagine you want to install a chair rail around a room. The hard part about this job is making sure the chair rail is level and the same height from the floor on all four sides of the room. To do this job right, you will need to make several measurements and marks on the walls of both height and level with a tape measure and traditional bubble level (or spirit level). With a Rotary Laser Level, however, you can place the Rotary Laser Level in the center of room on a Tripod. When you turn on the Rotary Laser Level, a beam of light circles the room at the same height. You can then adjust the tripod to get the exact height you need, for chair rails this is typically 1/3 up the wall, or 32”- 36” for an 8’ ceiling. With the laser beam of light continually circling the room, you can now effortless install your chair rail around the room with confidence it is perfect.
Other application examples where a Rotary Laser Level may be useful would be installing kitchen cabinets where multiple counter-tops and top-cabinets need to be level around the room; leveling a floor, drop-ceilings (acoustical ceilings) in a basement wreckroom where the ceiling tiles need to be the same height around the room; and framing a room, again say a wreck-room where you want your studs to be even across the room so your drywall will attach evenly. In this last case, the Rotary Laser Level would be turned on its side, so instead of shooting a beam of light around the walls of the room, the beam would be rotating 360-degrees across the floor and ceiling.
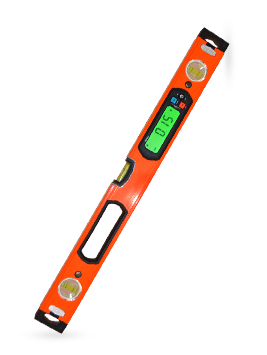
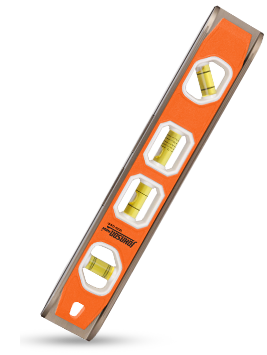
As you stand in your house, look around. Anywhere you find surfaces that need to be level, you could use a Rotary Laser Level to help you with the job. Of course, in many project applications, a traditional level will work, but what you may find is often, using a Rotary Laser Level will turn a two-person job into one-person job and just make the job go a lot faster. And although Johnson bubble levels (or spirit levels) are extremely accurate, their accuracy depends on the person holding the level. With most Rotary Laser Levels, the leveling is done automatically by the laser level, so you are guaranteed accuracy as long as your Rotary Laser Level is calibrated correctly.
Rotary Laser Level Accessories
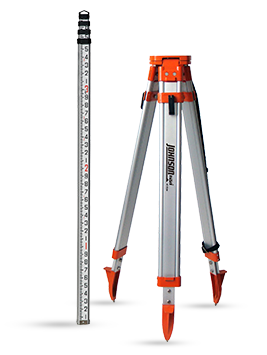
The most common accessories used with Rotary Laser Levels indoors are tripods (for elevation), ceiling mounts (to hold the laser on a perimeter such as installation of an acoustical ceiling) and a target (which has reflective tape to help you see the laser more easily). Outdoors, common accessories are tripods, detectors and gradrods.
Rotary Laser Level Outdoor Applications
Applications for Rotary Laser Levels are not limited to indoor projects; Rotary Laser Levels are also useful outdoors. The biggest difference between working outside versus inside with a laser level is that outside, in sunlight, the human eye cannot see the laser beam of light. In some instances where a single dot is directed at an object, the dot may be visible, but not the path to the dot. When you are working outside with a laser level, you will need to use a laser level detector. The laser level detector detects the laser by reading the light as it moves around an area. As we said already, the Rotary Laser Level’s beam is a single dot moving around so fast it gives the appearance of a line (think of it as the a light going on and off; as the light spins around – this is what the Detector detects). Therefore, an important feature of a Rotary Laser Level used outside is a high rotational speed, which makes the laser detection easier.
Let’s take a simple outdoor application for a Rotary Laser Level first. Instead of a chair rail around a room, you are putting in deck in your backyard. The Rotary Laser Level can be used to the side of the area for the deck and set up on a tripod, can be used with a detector to establish the height of the deck’s floor. Once completed, the tripod can be elevated to again be used with a detector to build a level wall or rail around the deck.
Other outdoor applications for Rotary Laser Levels can be rough and fine grading, where a grade rod is needed; rough and fine excavating, again using a grade rod to know how deep to dig and that your dig is level; alignment of concrete forms to make sure they are level across the area to be build upon; and setting up drainage where a slope feature of the Rotary Laser Level would be needed. Again, the key to using a Rotary Laser Level is it takes only one person to operate and the job will get done faster. Imagine a drainage project where a particular slope was needed across 300 feet. By turning on the laser level, one person can then begin to work with a Detector to stake out the rest of the job. Without a Rotary Laser Level, the same project would take two people. One person would stand where the laser would be and the other person would stake out the work.
Accessories
When working outside with a Rotary Laser Level, there are typically three accessories you will need: a Detector or receiver that detects the laser beam when the human eye cannot; a tripod to hold the laser; and for grading projects, a grade rod to measure changes in elevation. The color of the beam for a laser level to be used exclusively outside should only be red. Although Johnson’s “GreenBrite” (green beam lasers) are 400% brighter than red, since the beams cannot be seen in sunlight anyway, there is no need to spend the extra money for this feature. If your Rotary Laser Level will be used both indoors and outdoors, of course green will work.
Features
With your Rotary Laser Level, you may have some additional features beyond just a 360-degree beam of light at a constant speed. First, some Rotary Laser Levels have a variable speed control. At slower speeds, the beam of light is more visible, while at higher speeds, there is more of a “chalk-line” effect, meaning you will see one line all around the room. Second, some Rotary Laser Levels have a “scan mode” which allows you to change the 360-degree rotation to a 30-degree or 60-degree area. By narrowing the angle of the laser, the laser beam becomes more concentrated and more visible to the human eye. If you are working both outside and inside, the color of the beam, red or green, does not matter. However, if you have these additional features, a slower rotation speed makes it more visible indoors while a faster rotation speed makes the laser level more detectable.
 How to Set Up a Rotary Laser Level
- Find a flat surface in your work space.
- Mount your rotary laser level at the desired height. A tripod mount is ideal, but you may also use a bucket, sawhorse or any other stable object.
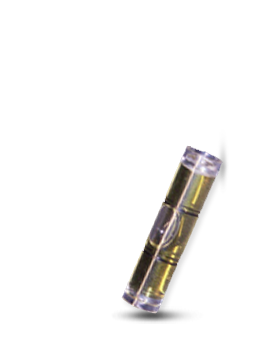
- If you have a manual rotary laser level, find the small screws near the vials on the unit. Each screw corresponds with its own vial. Adjust each screw until its vial shows level. The laser is level when the bubbles line up between the black lines on both vials.
- Turn on the laser level
- If you have a digital self-leveling rotary laser level, wait a moment for the unit to self-level itself.
- The rotary laser level emits a rotating laser, marking level at a 360 degree angle around the work space.
How to Calibrate a Rotary Laser Level
- Place your manual rotary laser level on a flat surface or tripod in a room with two opposing walls.
- Put the unit 1’ from one wall, and at least 20’ from the opposite wall.
- Orient the laser along the axis of the vial you want to level. The vial should point to both walls.
- There are two screws on the unit which correspond to each vial. Adjust the screws until the unit is level along both axes. Both vials should show bubbles resting between the two black lines.
- Turn on the laser.
- Mark where the laser hits the near and far walls.
- Move the laser 1’ from the far wall.
- Level the laser and adjust the height so it hits the mark you made on the far wall.
- Walk over to the initial near wall and measure the difference between the first mark and laser line.
- If the difference is less than or equal to your level’s specified accuracy, your unit is calibrated correctly.
- If the difference is greater, your unit needs further calibration. Continue to step 10.
- Go back and adjust the laser so it hits halfway between the two marks you measured. This mark is true level.
- Remove the screw cap for the vial. Using the appropriate tool, adjust the vial until it is level.
- Your unit is now properly calibrated.
 How to Use a Rotary Laser Level
- Set your rotary laser level on a tripod or flat surface. A stable object such as a sawhorse or bucket could work as well.Adjust to your desired height.
- Turn on the laser level.
- Wait a moment for the laser level to self-level itself. If you are using a manual rotary laser level, ensure it is calibrated correctly. Consult the unit’s manual for calibration information.
- If you are indoors, you are ready to make marks as necessary for your project. If outdoors, continue to step 6.
- Turn on the laser receiver. Check the receiver is working properly by testing from a short distance.
- Move the detector along a grade rod at the desired location. The laser may reach up to 2,000 feet depending on the model. When you hear beeping, the detector has found the laser.
- Based on your initial height mark, you can calculate changes in elevation elsewhere in the work space.
©2015 Johnson Level & Tool Mfg. Co., Inc.
